I assume I will be spending a fair amount of money on restoring my ’83 DeLorean over time, so where possible I like to save money by doing as much as possible myself. I usually enjoy doing it, and if it does not work out I can always choose to spend the money at a later date. Since my car only had one door strap upon purchase, and that one was pretty worn, I decided to make my own new ones. Had the car had both straps I probably would not have bothered. You can get new ones, both black and grey, in both the earlier style with a metal ring where you looped them through the door handle, and the later ones that are actually attached inside the door, from Delorean Motor Company, but instead spending $70 for the pair, I spent just over $10 on material. But note that original ones are, as far as i know, real leather, around a webbing core, the ones I made are all vinyl.
Purchase list:
20 x 140 cm of grey vinyl, which actually was more then enough for 4 straps, but I only needed two.
1 spool of heavy duty synthetic off white thread to match the original
1 tube of contact adhesive
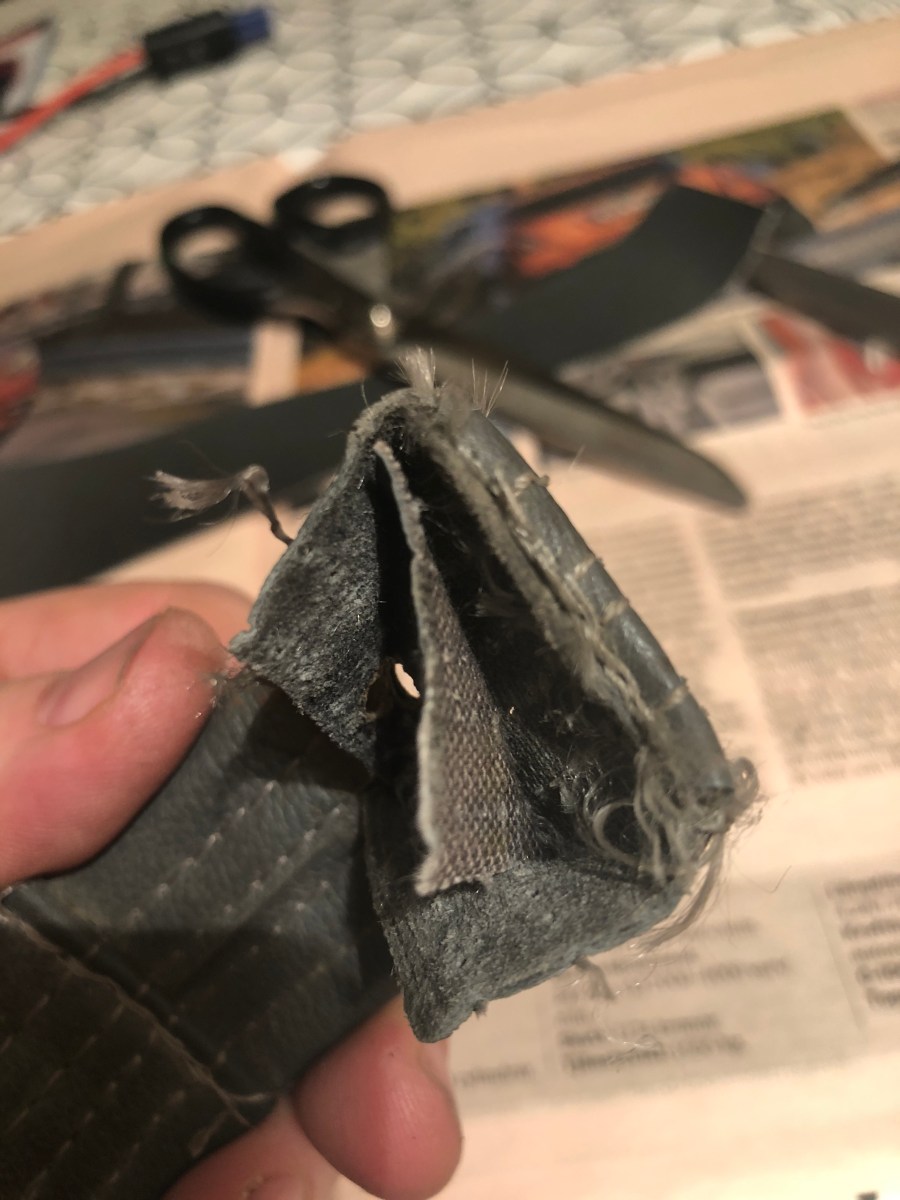
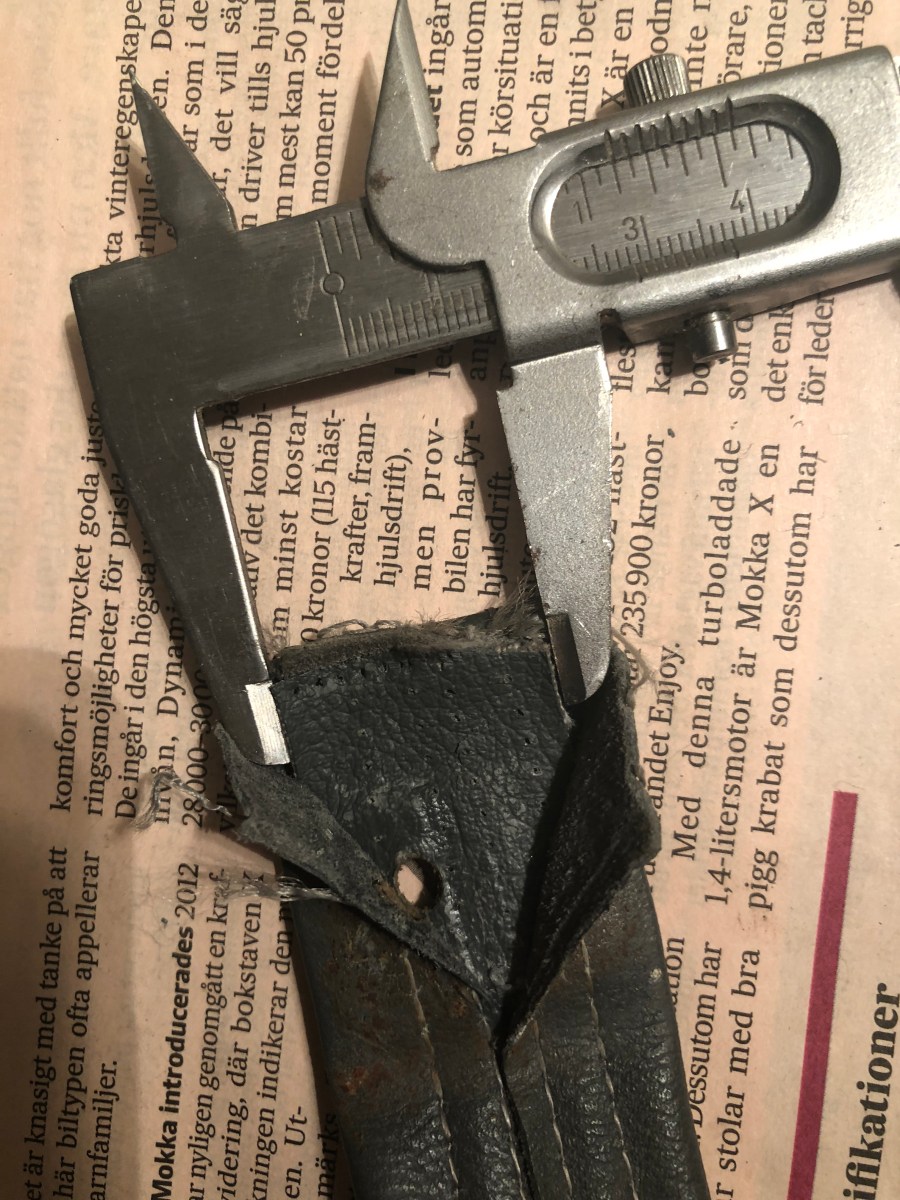
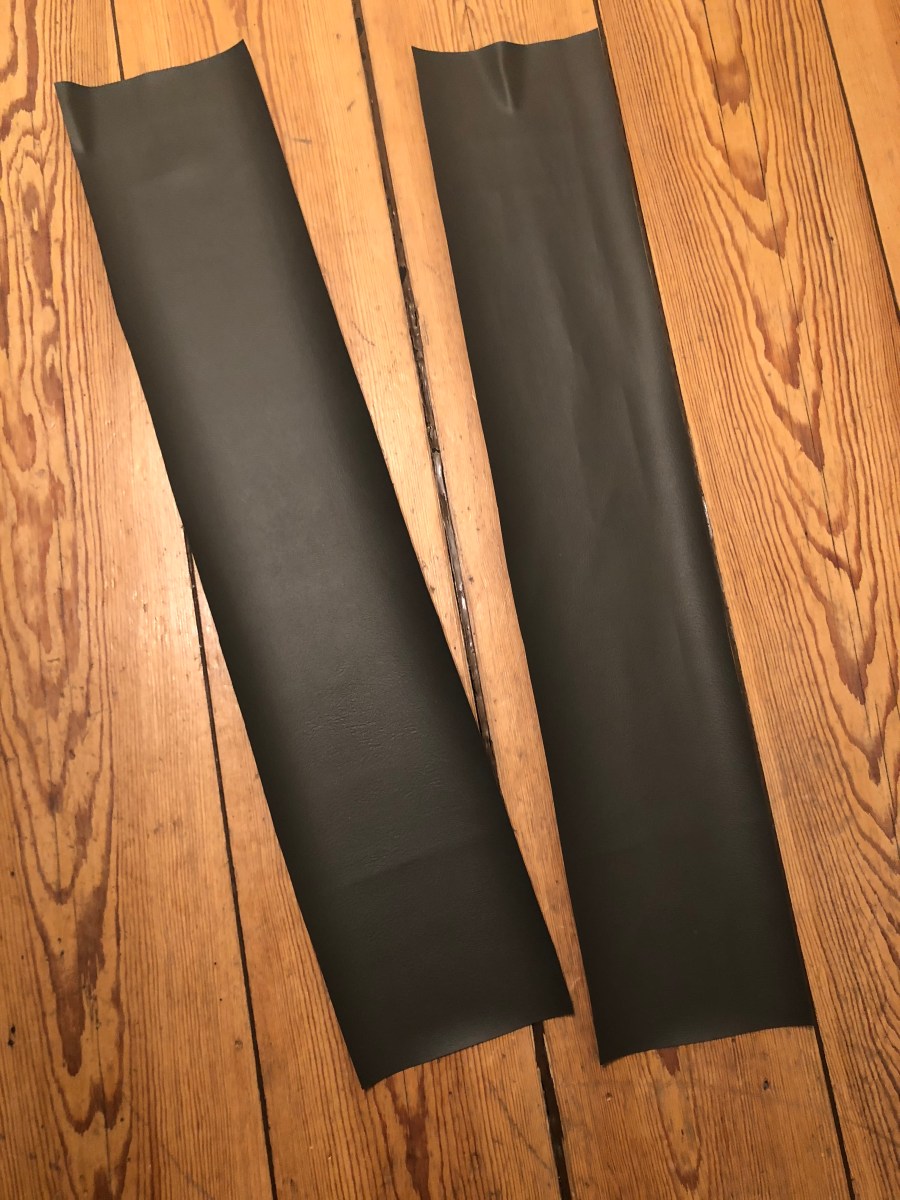
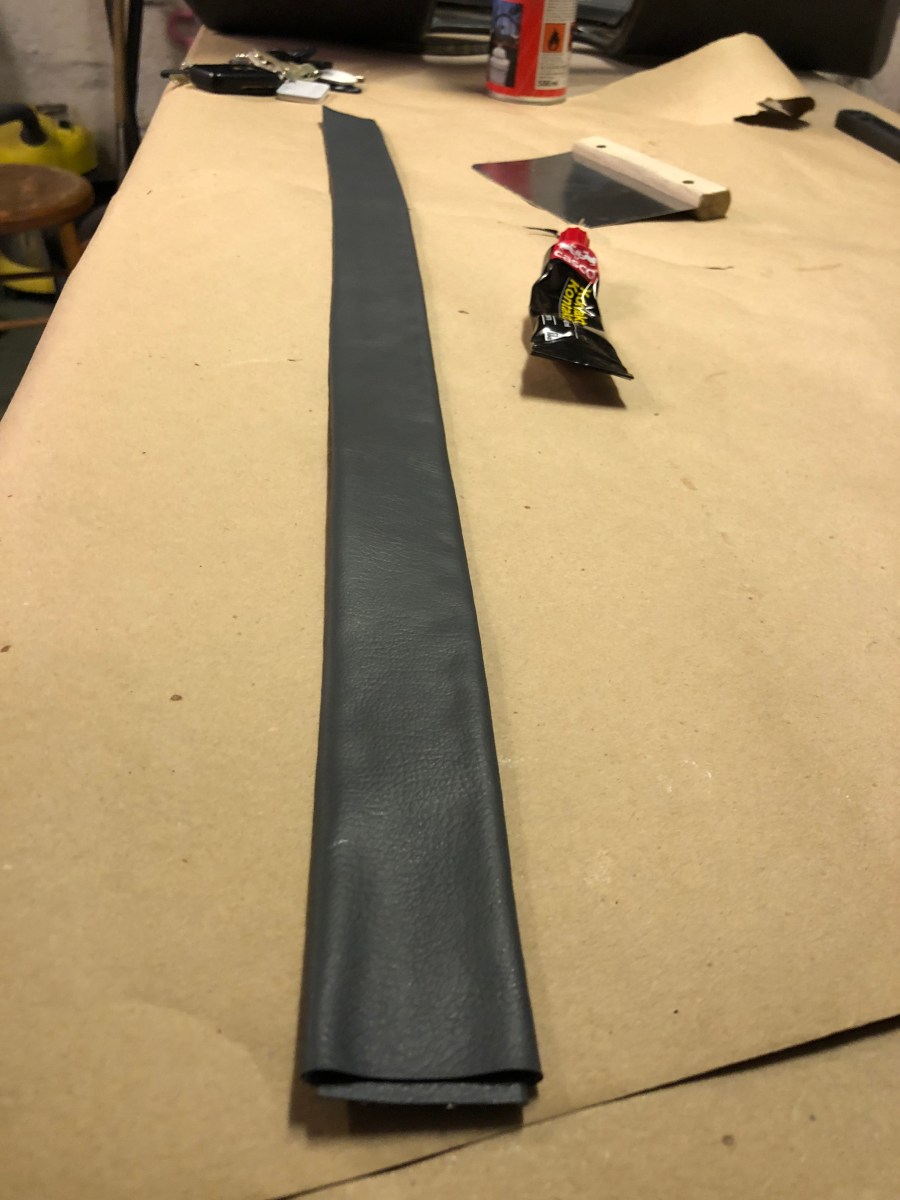
This is the final result, with two brand new pull straps that hopefully will last another 30 years or so. I will punch the hole for attaching them once i mount them in the car, to get things right, but a dry fitted mount can be seen below.This is the old pull strap, both quite stiffened by age, dirty from hands pulling it and just worn all over.To be able to make the new one feel the same and have the same thickness as the original, I slightly opened the original up to see how it was constructed. It is actually a bit odd, because it seems to be a 2-piece construction. As you can see, the original strap is made up of 3 layers. One wider leather piece that is folded around (thus making up 2 layers) a thinner inner piece of webbing. The leather is then stitched over the central webbing core, this is a technique commonly used when producing door strops for classic cars as it prevents the leather from stretching over time. Mine however are all vinyl.I measured the old strap thorroghly to get the new one identical, and from what I could tell, my vinyl was just slightly thinner than the original leather. This made me go for 4 layers on my straps instead of the original 3, and it turned out just perfect.These are the two pieces, cut out from the purchased vinyl. They are 670 x 135 mm, and will be folded to make up 4 layers, then stitched. This will make them both the apropriate width and thickness.To be able to stitch the straps more easily, I glued them as I folded them. I doubt it has any real effect on end result, but made it much easier with the sewing macihine. Tip: You see the scrape tool in the background? I used it to smear out the glue, since I noticed that even the thin lines of glue on some test pieces I did, showed slightly as embossed areas in the vinyl.The original straps has 4 seems running the length of the strap. I spent some time on scrap pieces of vinyl, also folded 4 times to create the correct thickness, getting the settings of the sewing machine just right. You want to get the thread tension and the length of the stitches matching the original ones as close as possible. Just take your time when sewing and your seems will be both straight and evenly distributed.
SaveSave
And here is one strap fitted to a cleaned and refurbished lower door panel.