Restoration of a DeLorean DMC 12 front foam bumper
The front of a DeLorean consists of a few major parts; The fascia, which is the big molded plastic piece holding the grill and the lights, there is obviously the grill and the headlights with their buckets and brackets, there is also the indicators, the rock screen in front of the radiator, the spoiler and the bumper, which is the one piece not visible when everything is mounted. The actual bumper is a piece of foam painted in black and glued on a long piece of aluminum which attaches to the car via M8 bolts. Mine was attached in two places, but there are in fact 3 mountings for it, and there are 3 “pipes” that go in to a section of foam underneath the front of the trunk. You can see those mounts through the tool cubby in the front of the trunk. To remove the bumper you need to remove the cron fascia, which is quite involved. The bolts that attache the bumper are behind the indicator lights.
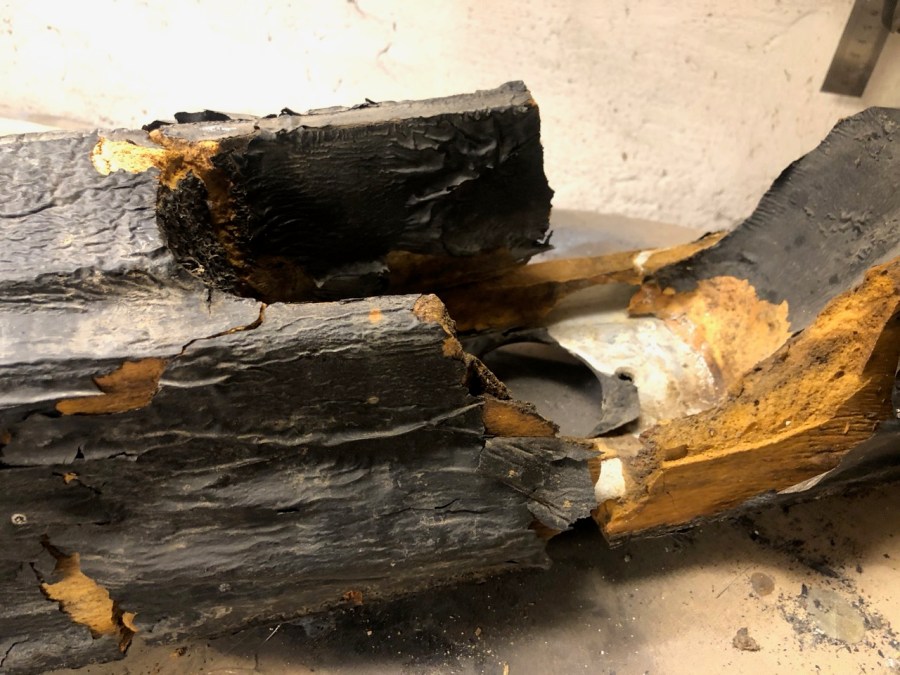
My bumper was in bad condition, it more or less fell apart around the openings for the indicators when you touched it. I saved all pieces, planning to recreate a new version of it, from closed cell foam, but I ended up repairing the old one instead, mostly because it was so firmly attached to the aluminum plate. I started by adding expanding foam.
And here is a video of the finished result. It’s not pretty, but it won’t be visible, and it will do the job. “The job”, being mainly to keep the fascia in shape and prevent it from cracking I guess, I don’t have high hopes of this adding any major level of protection if actually hitting something substantial.
Here is another video showing the injection of expanding PU foam:
Below are photos from the process, with comments on the photos.
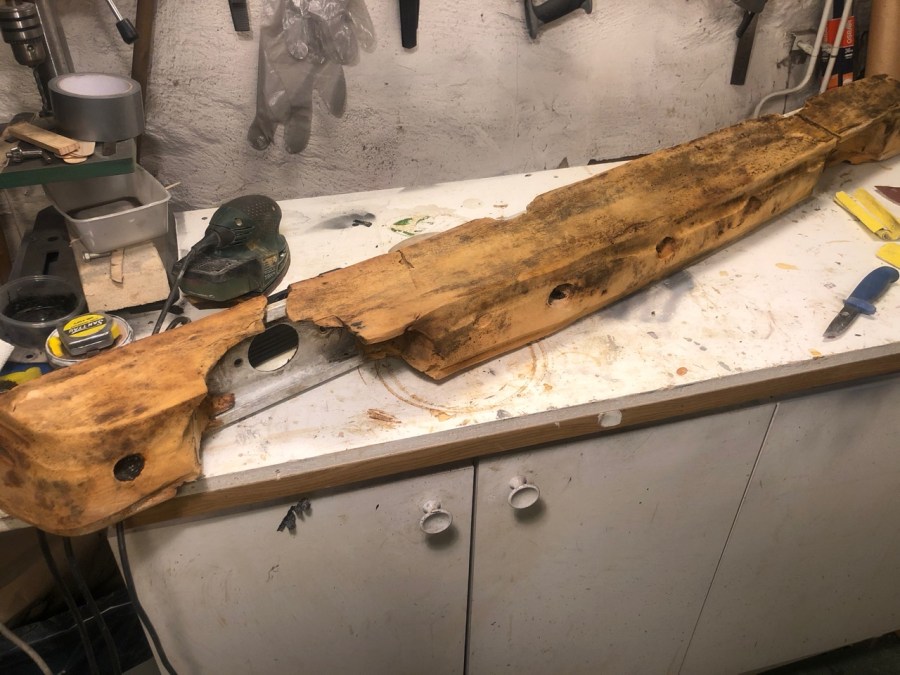
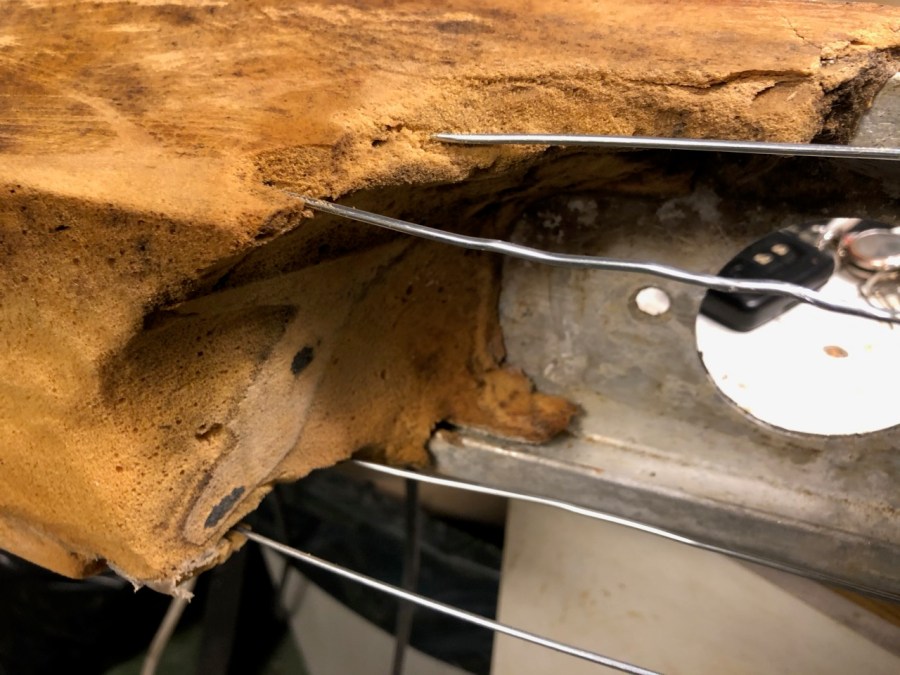
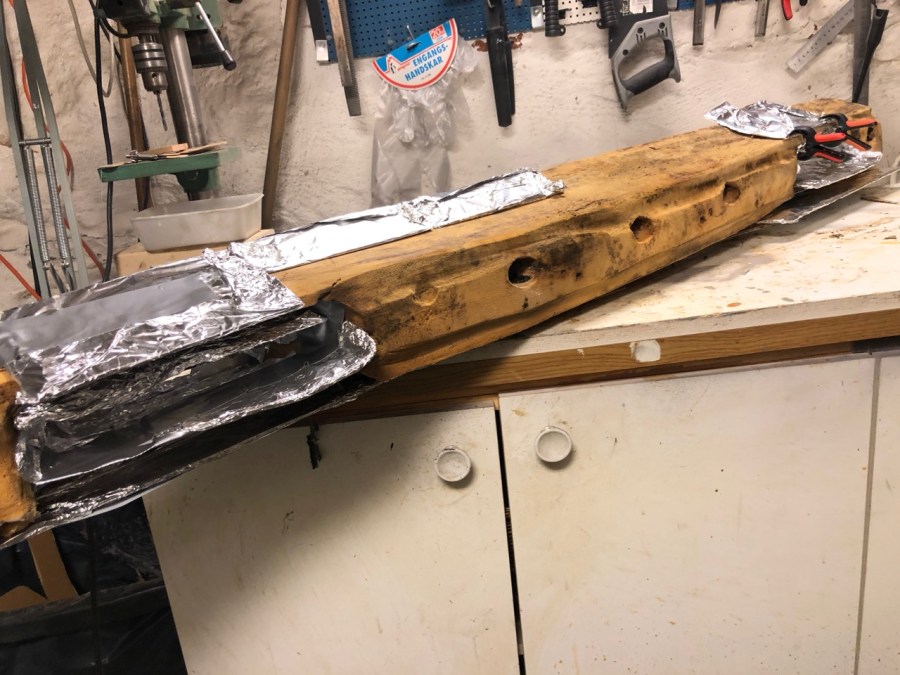
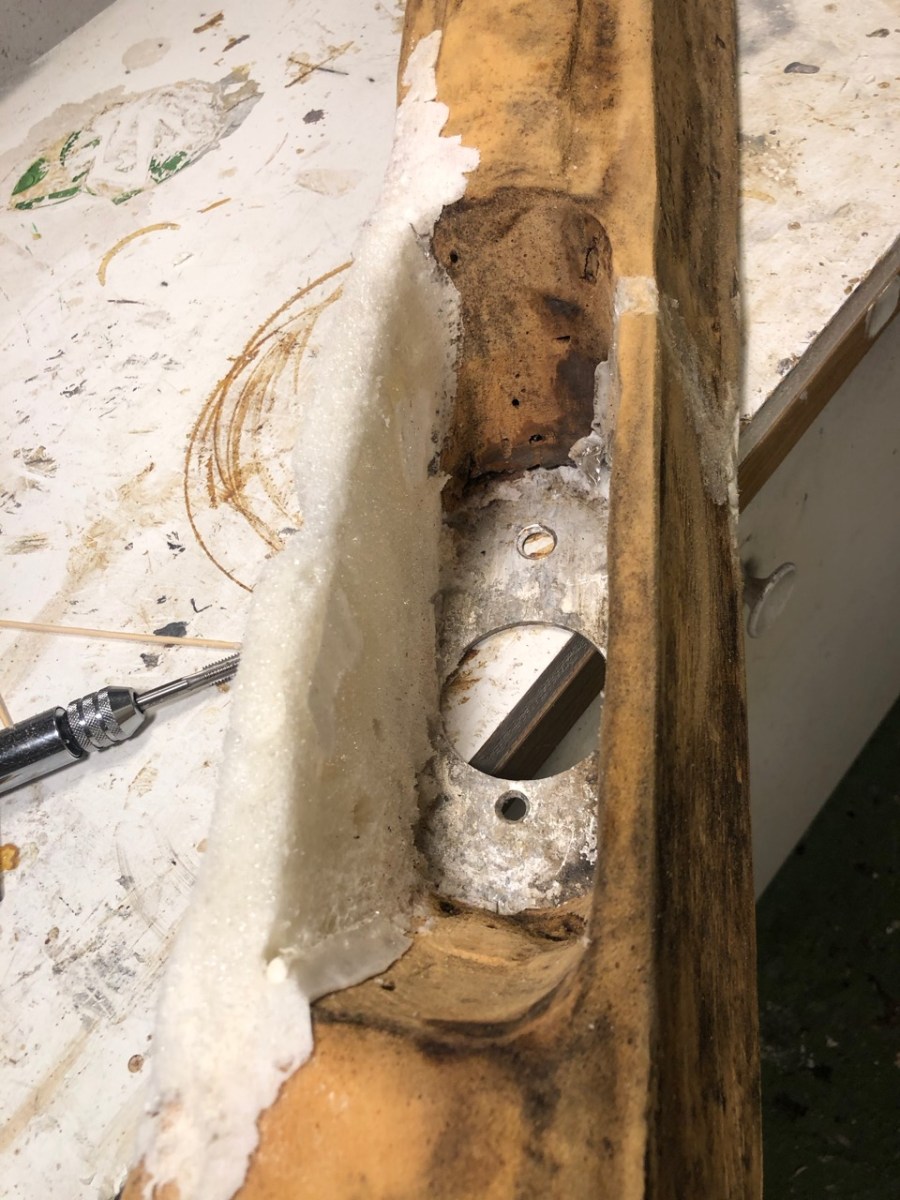
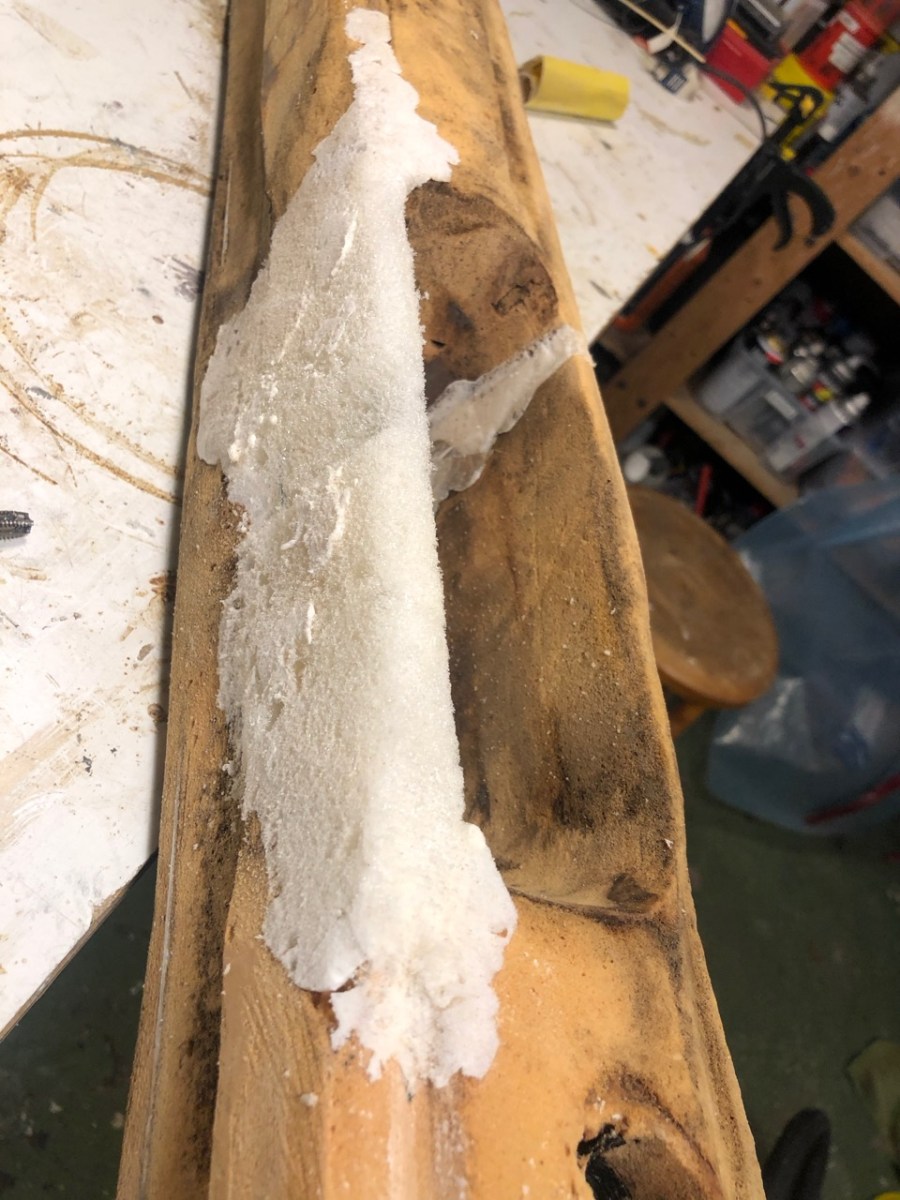
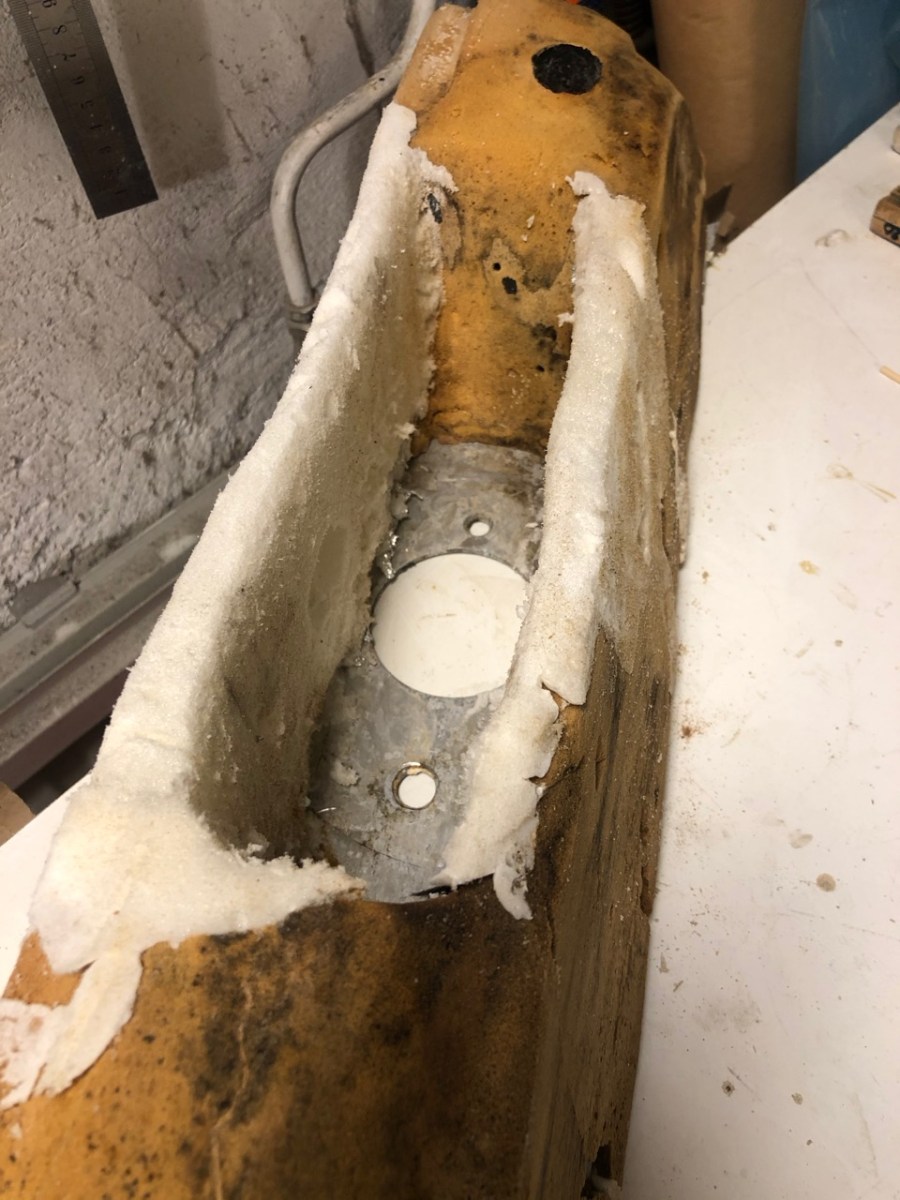
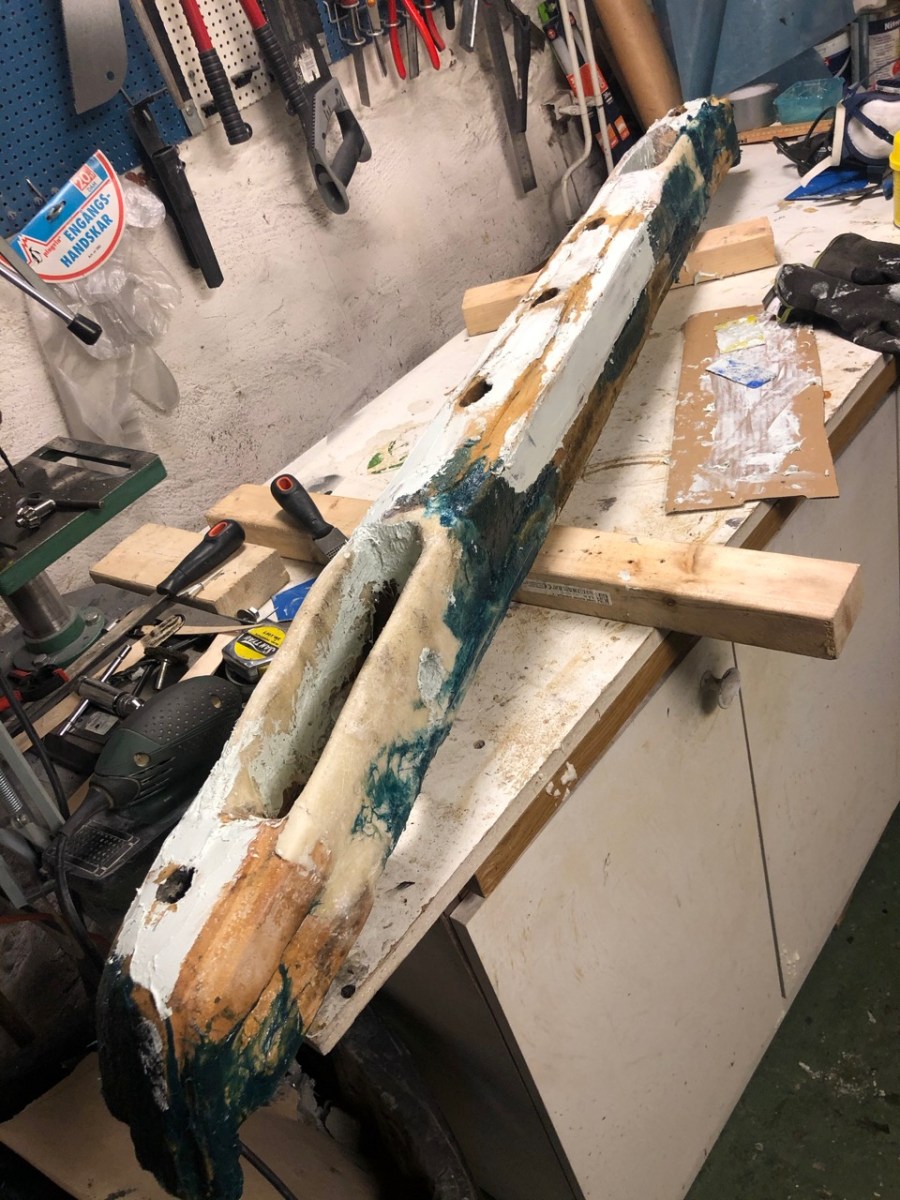
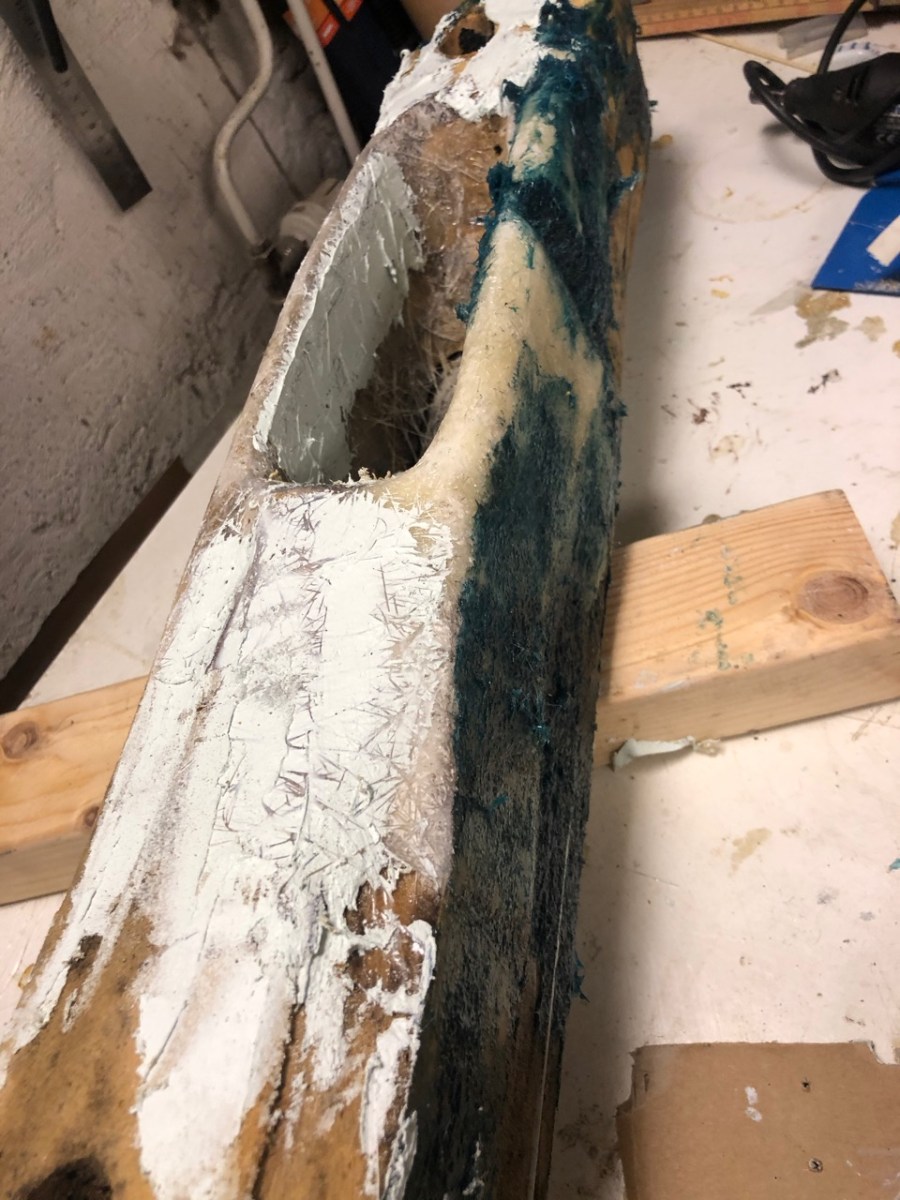
This was basically the state of the bumper. The foam was so brittle is came apart. But more or less all pieces were there.The paint was chipping and could basically be peeled off in chunks in many places.My first plan was to create a new bumper from closed cell foam. Stuff you insulate you house with. It is cheap and easy to work with. So to have a template, I hot-glued the largest pieces back to the bumper.Here is a piece where the bottom of the opening for the indicator is missing.Here you can see a piece of the bottom glued back.During the process I realised that it was not super easy to create a new bumper, and that my original one could probably be salavged after all. I stripped it of paint and took all more or less loose parts away, and was left with this. A fairly rigid piece of foam.I added some rebar made out of wire coat hangers that I just cut to length and pushed in to the foam.A close image of the rebar. Im not sure how much it actually helps, but it can’t hurt and was an easy fix. It will also help the expanding foam to attache better, since it can cling to the rebar.Then I covered some pieces of cardboard with tin foil (to prevent the foam I was going to use to stick).Its hard to see, but the aim was to create “channels” for the expanding foam by putting some pieces of cardboard along the bottom and inside the openings for the indicators.Here is a picture were you can see the “Channel” or cavity where I would inject expanding foam. There is a bottom plate (the larger piece) and a smaller piece inserted above it as a “roof”. I also tried to do the same on the top.
Here you can clearly see where the foam is going to go between the lower pieces of foil covered cardboard.I used PU foam, and although I really tried not to overdo it, of cause it expanded way more than I anticipated. But this picture looks worse than it is, the foam is still confined in the cavity I created, it is just on the outiside it expanded way to much. But that is easy to cut off once it has cured.Here is the other side where I was being a bit mor modest with the foam. Once the foam has cured you can easily cut away the excess and start to shape the final form. I used a regular hobbyknife with a fairly long retractable blade. Create the rough shape you want and remove the tinfoil.Once everything is decent, you can easily sand the remaining parts with a coarse sand paper.
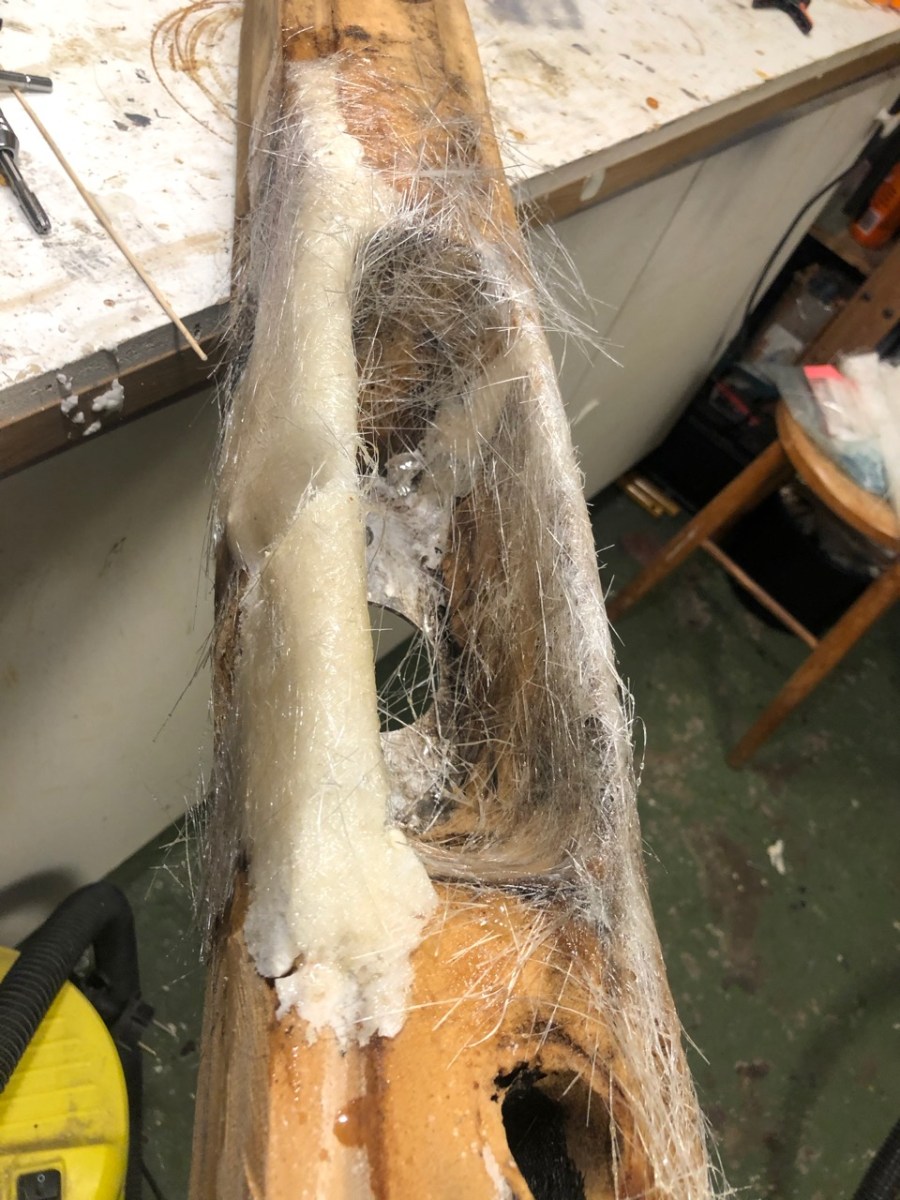
After the foam was all done, I reinforced the parts that easily brakes with epoxy and glass fiber.
After the glass fiber was cured and sanded, I also used som glas fiber filler and regular car filler to smooth out all surface, fill small voids and further reinforce the foam.The glass fiber filler (blue) is stronger, but harder to shape and top get to stick.
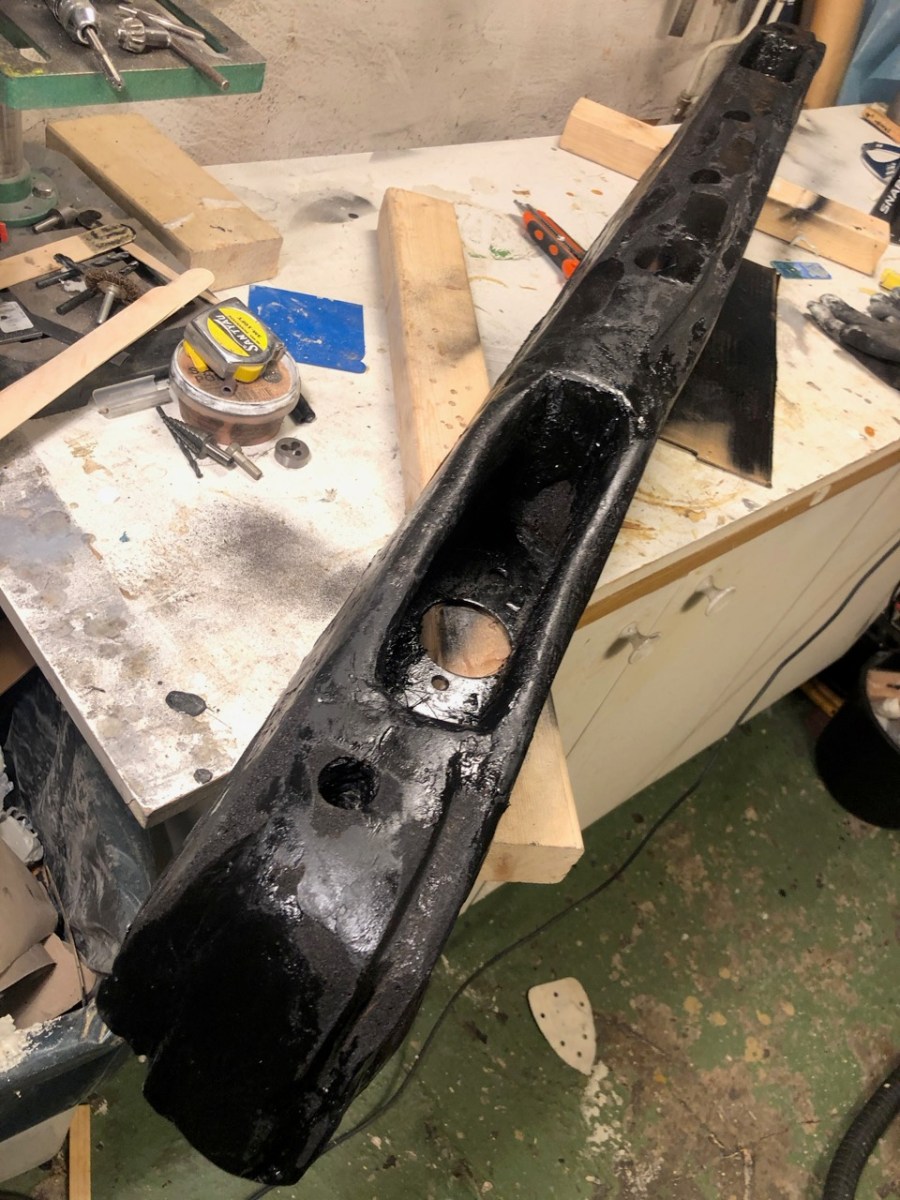
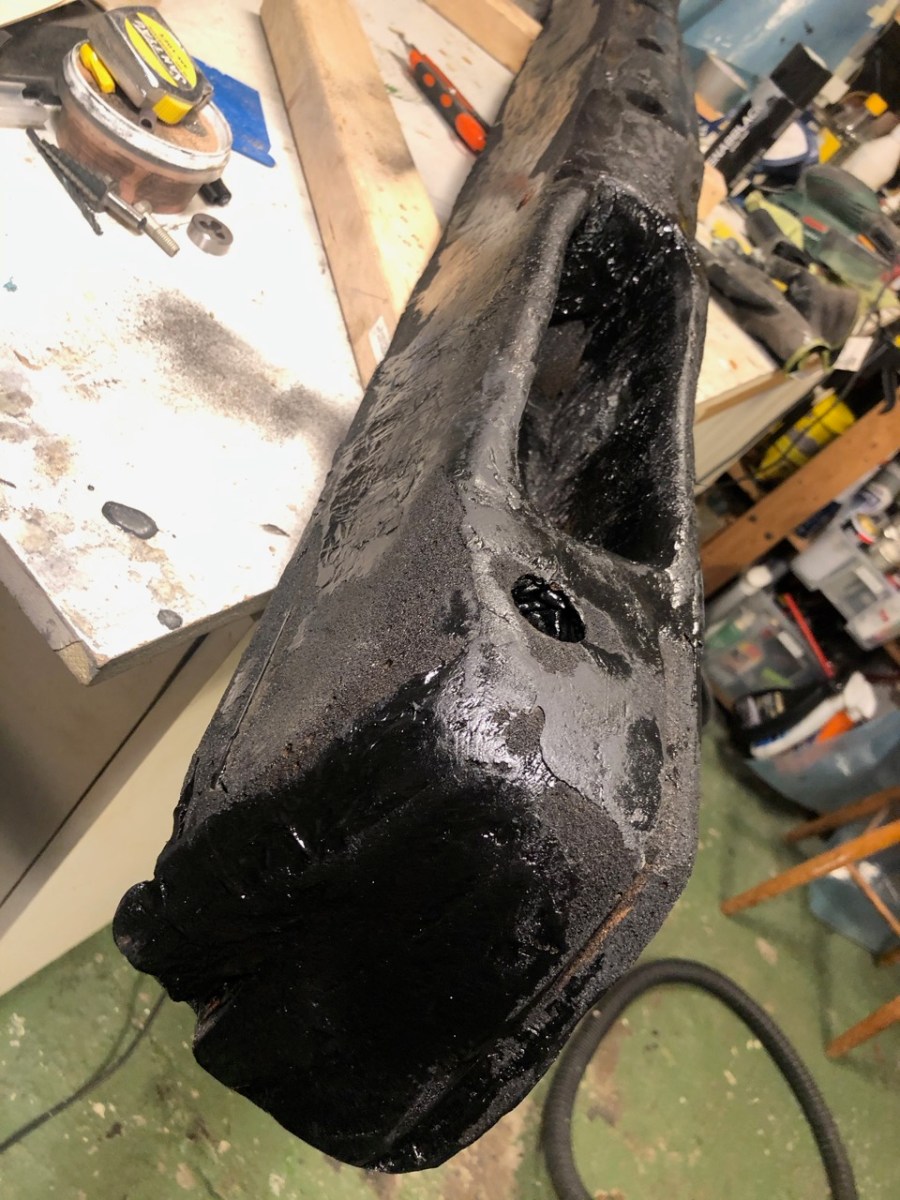
After everything was done, I sprayed the bumper black. That is when I realised it looks very different depending on if I hade applied filler or just left the foam open. I decided to cover the complete bumper in rubber paint (plasti-dip) to even things out a bit, and to add further moist protection etc. It is not going to be visible at all, but I still think it will hold up better over time, and make it easer to take out the next time without breaking it. The result of the rubber paint can be seen in the video.Here you can clearly see the difference in surface where the filler is applied and where it is not. If I would have done this all over, I may have covered the complete bumper in filler, but as mentioned, this is not going to be visible, and I wanted to be done with it.