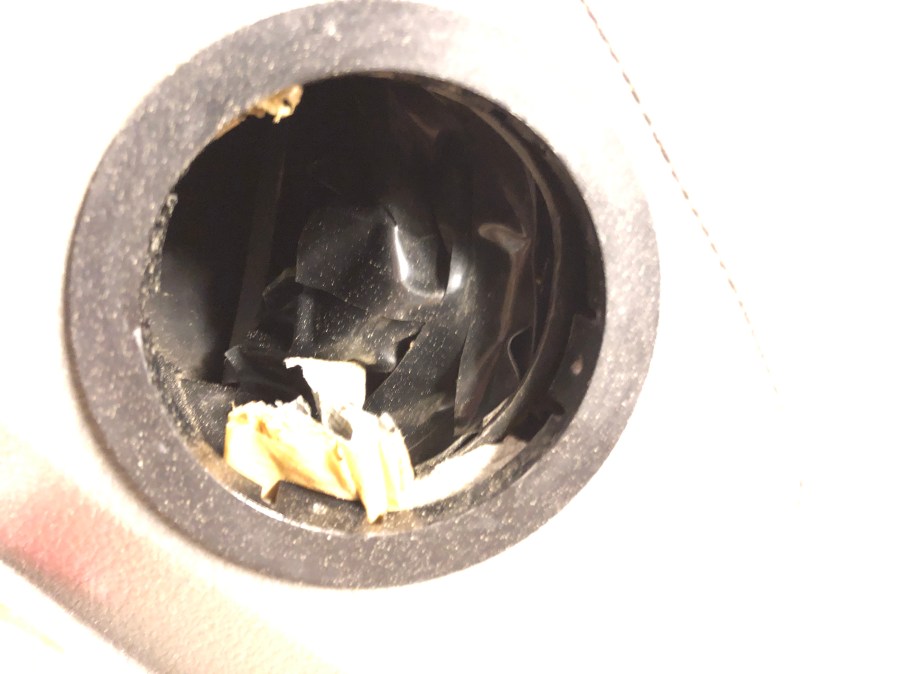
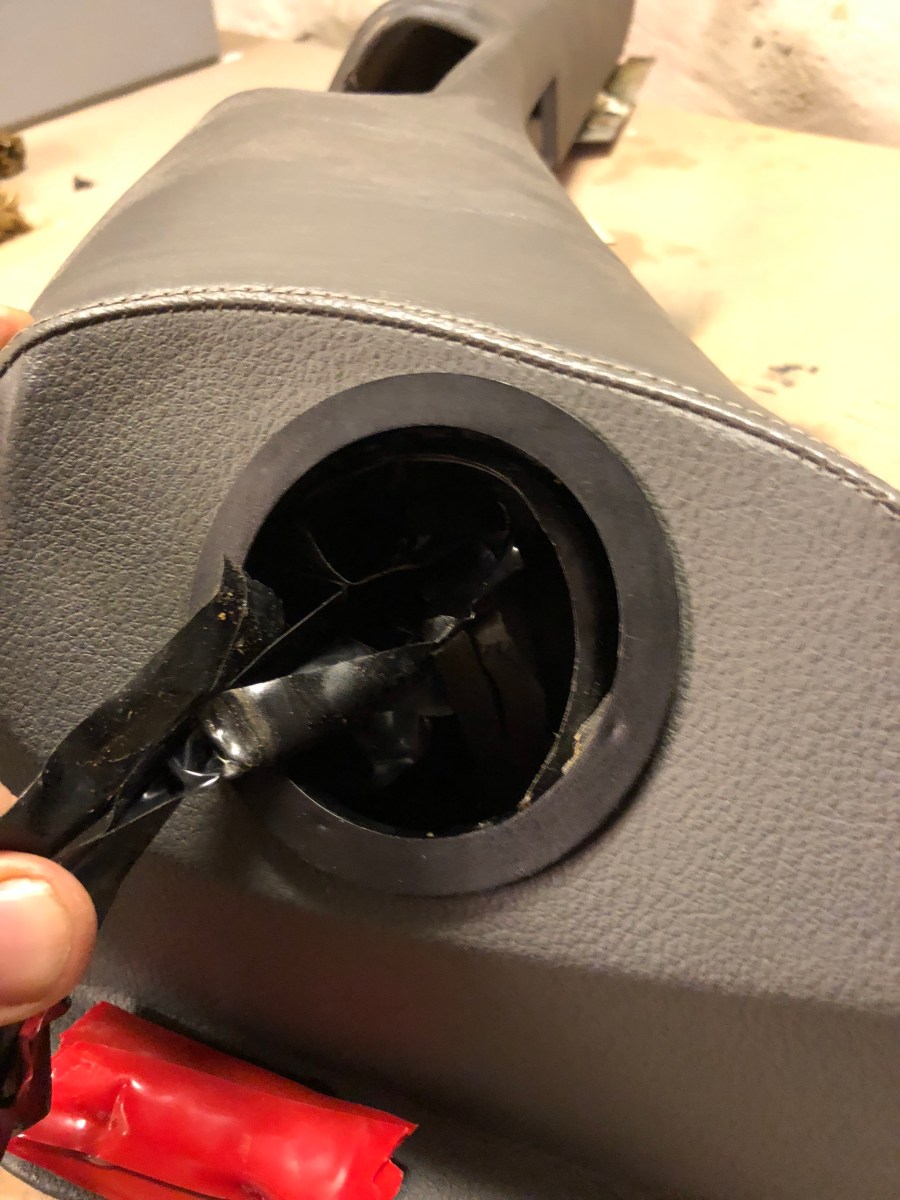
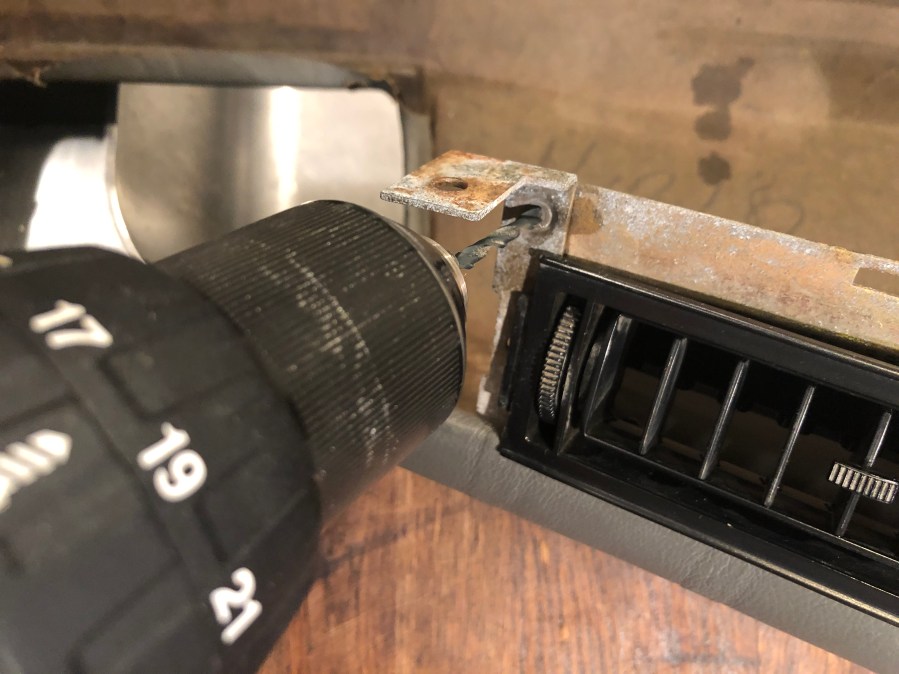
The main reason I wanted to clean up the door panels was that I could see a lot of electrical tape and old plastic stuffed inside the door vent. People do this, or more professionally with expanding foam, to actually guide the air coming from the dashboard outlet into the door vent, since the fit is very bad. I also took the vent itself apart to get rid of all old tape residue and junk. To be able to get all parts out you need to drill out two rivets, and later rivet them back together. The actual vent is brittle in the small gaps or lips where the screws hold it to the metal mount, so be careful when you remove it. Although the vent is available from DMC, it is a reproduction part and not NOS. Here are pictures of the process.
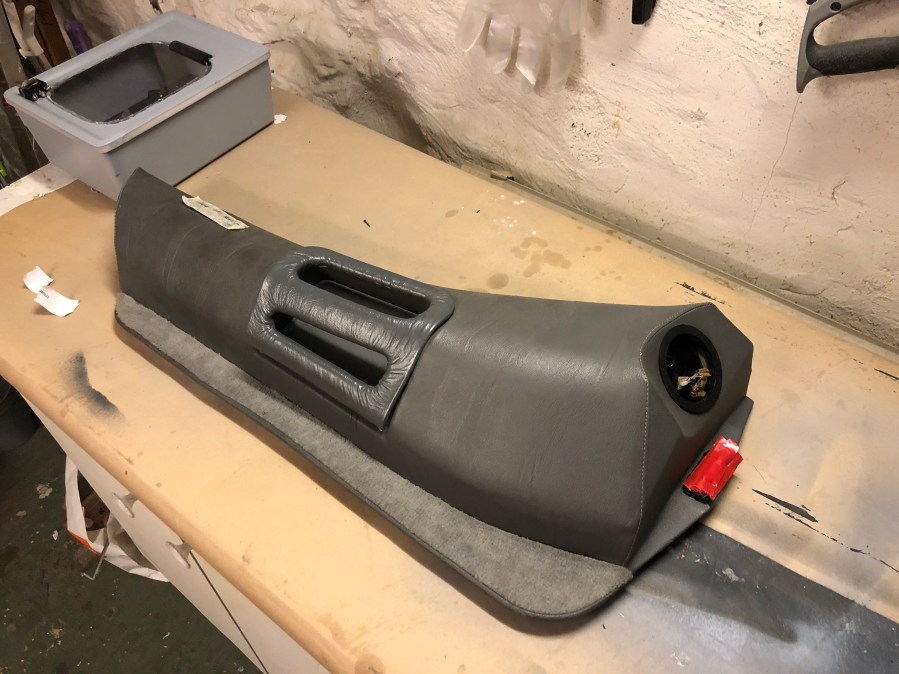
This is the lower panel as it looked when I took it out of the car. This is the drivers side one.It was not in too bad shape, but I have cleaned it up and tried to wash out the piece of carpet at the bottom. The red plastic seems to be a home made pad on top of the small metal plate pushing the interior light and door open warning switches in the door opening on the car.
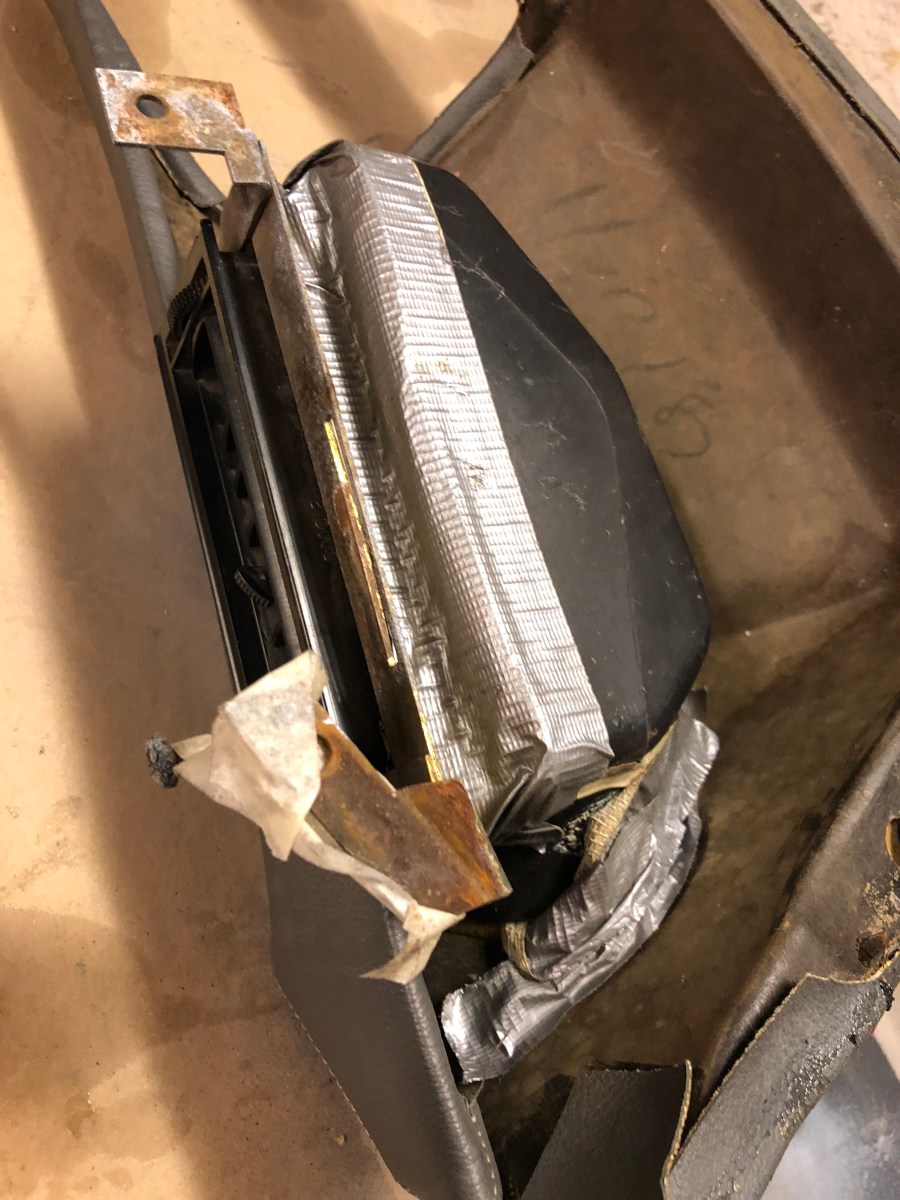
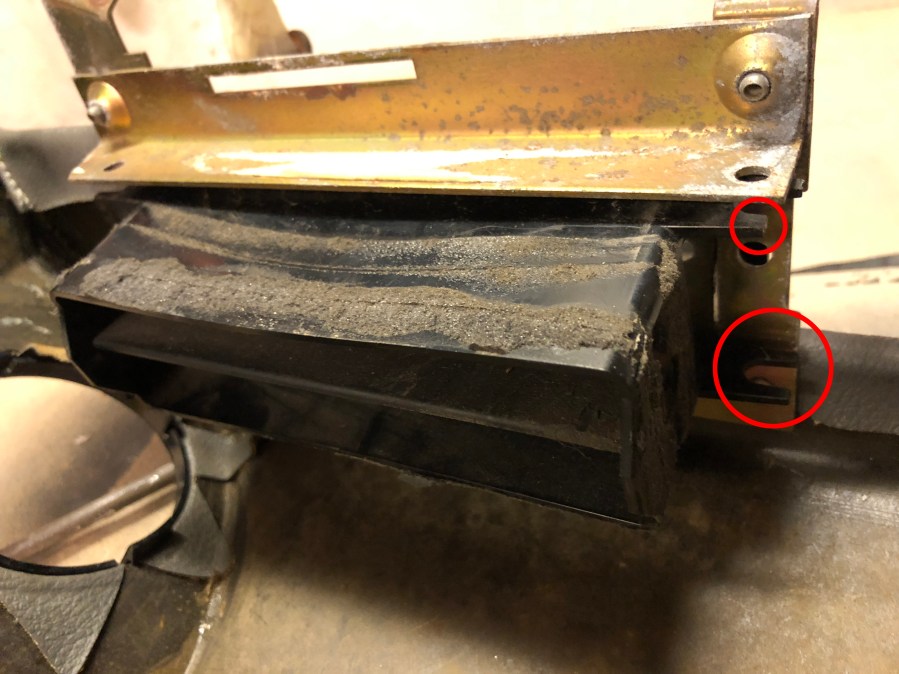
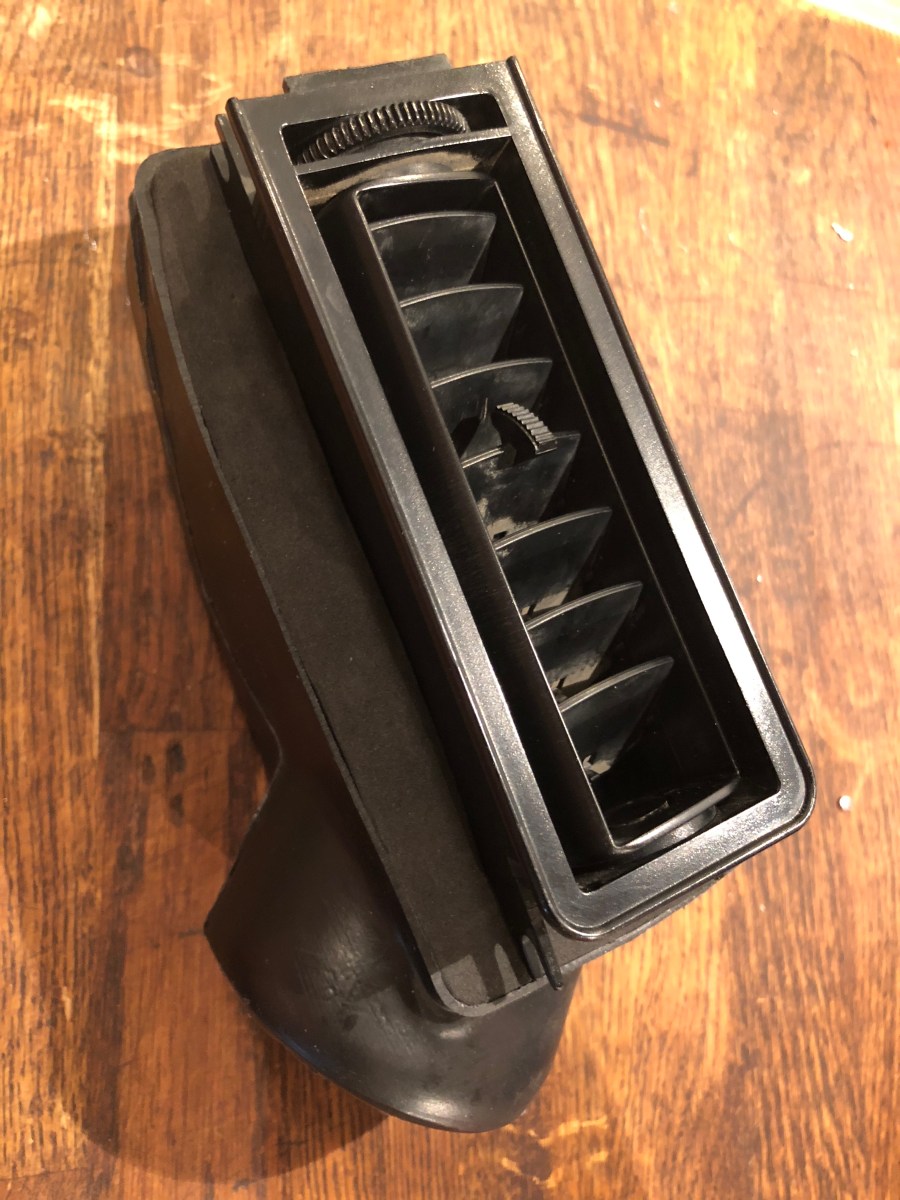
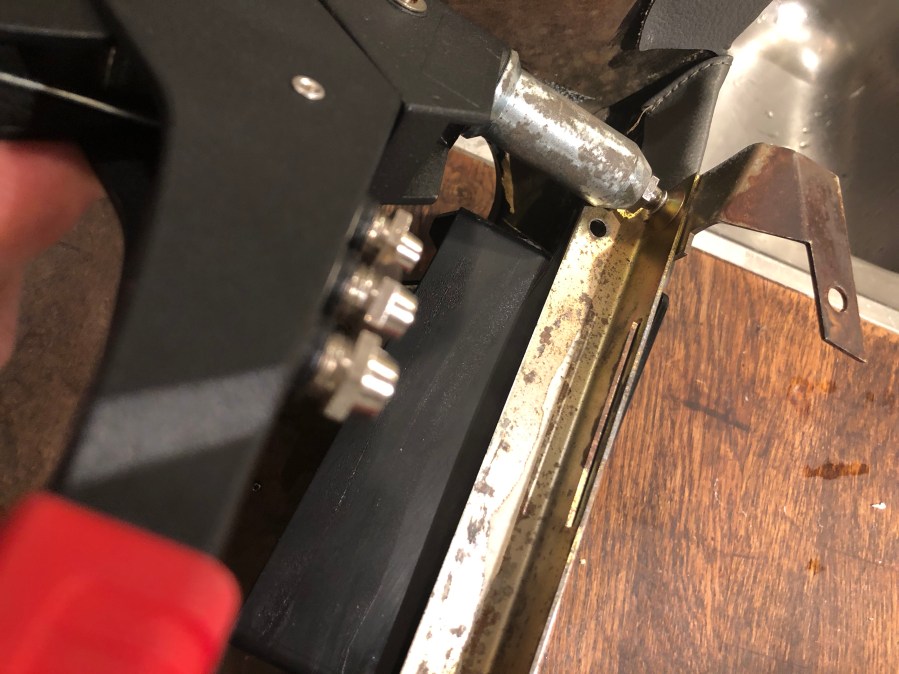
Although not very visible from the outside there was a LOT of old tape to isolate the vent. Electrical tape, duct tape, painters tape. You name it. And it must have been there for many years, it was very hard to get off and left a lot of residue.Inside the vent I could also see a lot of tape, seemingly just stuffed in there.I had to pull everything out, and then found even more plastic from old bags inside. This was clearly a zero budget solution.Here is the outlet with the metal brackets removed but still attached with the original rivets. I have marked the tiny plastic lips where the outlet is held to the mounts by screws. As you can see in the smaller red circle, one of the attachment points is already broken. Be very careful with them, the are very brittle. The residue on the outlet is from the original piece of foam sitting between the outlet and the metal bracket.Here you can see the rivets that need to be drilled out to be able to remove the outlet from the mount.I think you can also choose to drill out the two lower rivets, but the top ones allow for much easier accessVery satisfying to see that this is indeed an original part to the DeLorean. This is embossed on the top of the vent outlet.Then I had to clean the vent from all old residue. I used soapy water, rubbing alcohol, hot water and even steam, but what worked the best in the end was steel wool.As mentioned above: surrounding the adjustable outlet and isolating it from the vent housing is a soft foam frame. Mine was very worn and soft so I cut a new one from a stiffer and slightly thicker material. I believe it was something I saved from a piece of packing foam at some point.Here is a picture of the new foam frame mounted inside the vent.And from another angle. I don’t want to add more tape to cover the possible air leaks where the housing attaches to the door panel and surrounding the foam, I am considering creating some sort of boot made of vinyl or parachute material with elastic bands in the ends.Here is the outlet inserted inside the foam. It is only held in place by the pressure from the foam, but will later be screwed on to the metal mounting brackets.Once everything was in place, I riveted back the mounting plate.